Tuesday, January 30, 2018

Spam Upside Down Pie and Party Sandwich Loaf


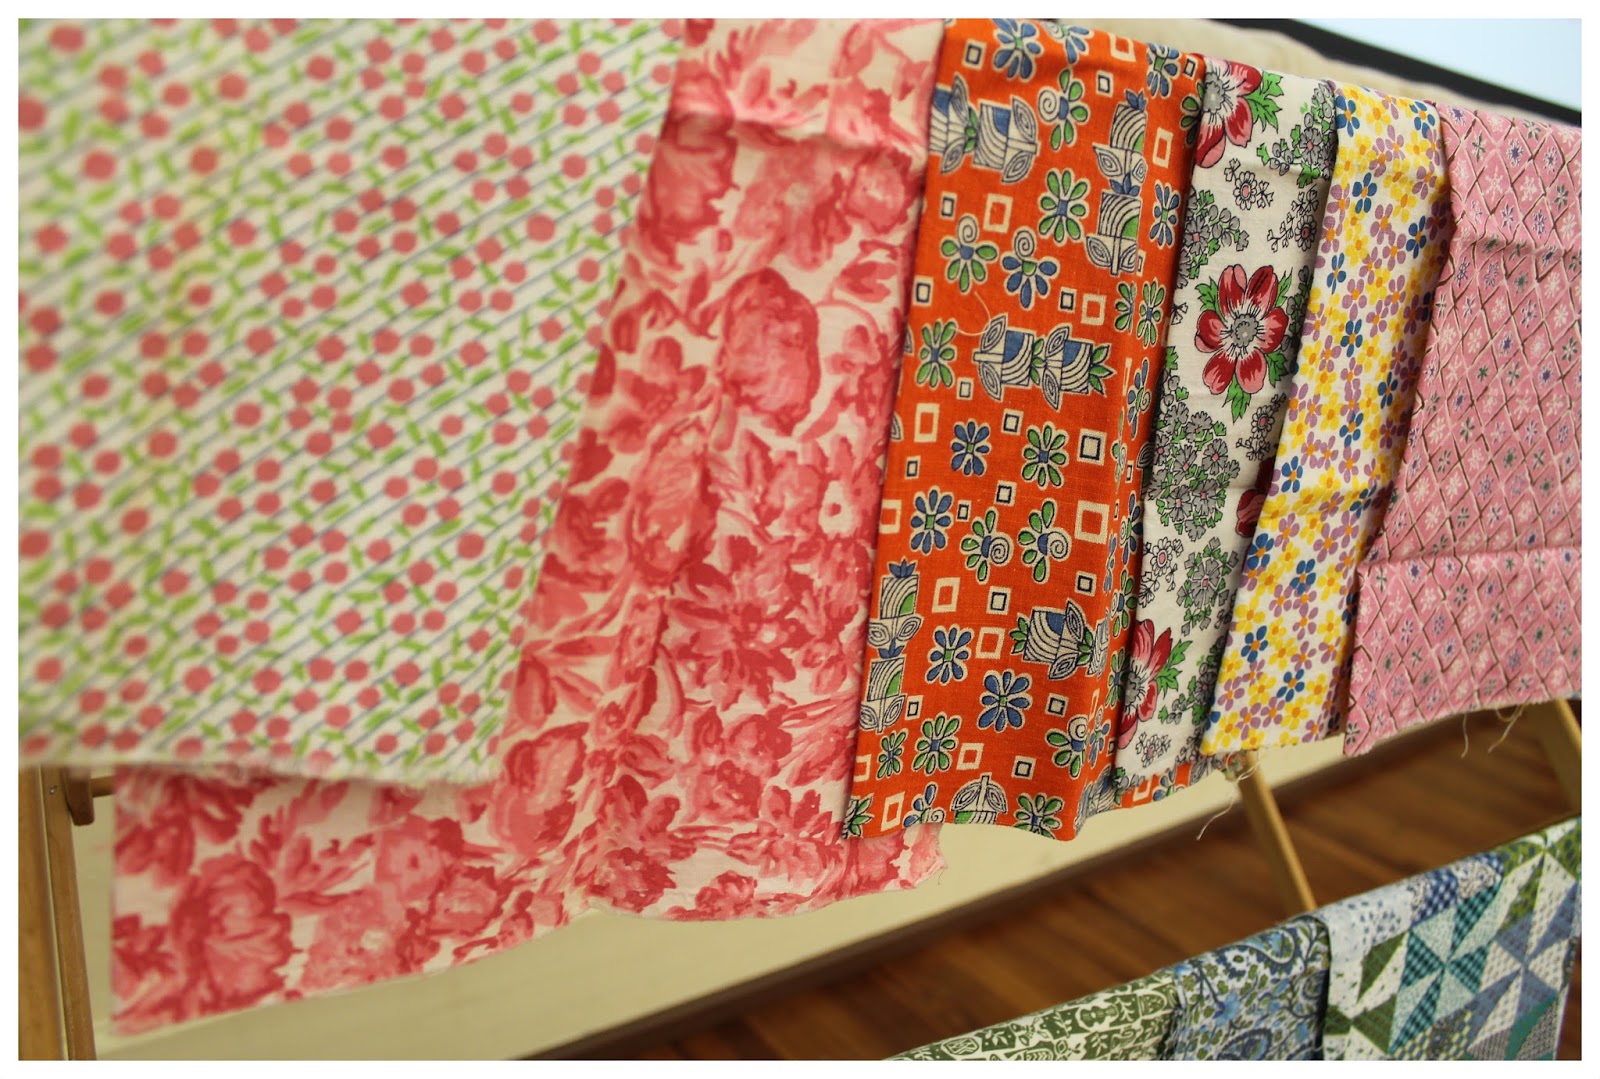
Last summer Mr. Husband and I decided to socialize with other adults, something that doesn't happen very often.  We are fairly introverted only getting out in the world to plunder through bins at the thrift stores or Target runs.  However these friends are into the same thing so we made an evening of not going anywhere together.  
We ladies each made a vintage dish to share.  I made Spam Upside Down Pie!


Festive and fun to make!


Check out those awesome radish roses!

Recipe:


I used bacon spam and a horseradish dipping sauce (pre-fab).  It was pretty tasty!

My friend was quite ambitious and turned out this amazing Party Sandwich Loaf! 

Recipe:


It involved three different fillings along with acquiring an unsliced loaf of bread from a bakery all the way across town!

Here are our two dishes hanging out with each other at my friend's house.

We also each made a dessert.  I made individual coconut agar jelly puddings with diced peaches and she made a pear pistachio pudding castle.  What is a pear pistachio pudding castle? you may ask.  It's diced pears mixed in pistachio pudding served in a sand castle bucket mold.  My friend thought the pudding would mold into the shape of the castle but it's not jello...so that didn't really work out as she had planned.  It still was fun to serve the pudding from the castle bucket with the supplied little toy shovel though!

As for activities we watched "Sandy Path", a spoof of the documentary "Grey Gardens". Oh my gosh, it is so hilarious!  It's from the series Documentary Now! staring Fred Armisen and Bill Hader.

image source

When "Little Vivvy" slaps that slice of baloney on to the front of the fridge for the cat sitting on the top to eat, I laughed my pudding all over the place!

We had discussed prior to our get together about us playing some games. We all collect old board games so I was looking forward to seeing what they had...which turned out to be more intellectual adult games like Yahtzee and backgammon.  Luckily I had brought along
The Game of Shopping at the Super Market!

I LOVE this game!  The graphics are adorby and the game is fun!

Each player gets a little shopping cart and has to land on certain spots to get everything on their grocery list before they can "check out" and win the game! Be careful not to land on "Watch Food Demonstrator, Miss a turn."

Sure it's recommended really for people in the single digits... but it's fun!

Once I get the house whipped into shape I'll have to host them at my place where we can play with my Mr. Potato Head dolls and maybe I'll make a Wiener Crown Roast !

Thursday, January 25, 2018

Happy Kids Pickles

Check out this adorable tiny old jar I picked up at an estate sale for 0.00 dollars!  


 The lady let me have the jar along with it's mystery contents...surely not pickles!
It turned out to be full of engine/machine grease.

Tuesday, January 23, 2018

Crafty Wares Selling Suitcase


As I have mentioned in previous posts, I am currently working on some major "tiding" around my house, along with many DIY house improvements.  As I have been going through things I have come across tons of stuff that I have never posted about.  I think I made this "Crafty Wares Selling Suitcase" 5 years ago.  Above is the exterior, portable and compact!


Then when it's opened and sat on end, it's a mini pop up shop!


Then center has a swinging double sided display area.


I never posted much about making these accessories.  I made the necklaces with the movie pendants from shrinky dinks. Some others can be seen here: Plan 9 night.


Handbags with vintage sci-fi movie posters made from iron-on material.  I put up a small post about another similar bag back in 2007.


Hair doo dads and barrettes.  I also made some stuff for the fellas like lapel pins with movie monster images but their not visible in the photos.


I originally made this pop up shop to sell stuff when Mr. Husband Sir is co-hosting any live events in conjunction with his horror host show.
Here are some photos of the suitcase "In Action".   PB made some crafty hand drawn monster patches (circa 2012) to make himself some extra money, they sold really well!


Here is a 2012 photo of the table set up.  I haven't used the suitcase or tried to sell anything for the past several years.  I really should start doing it again so I can at least get rid of the stock I have.  I think there are several items in the mix dating back to 2007.  If I hold out a few more years I can sell them as "vintage"! HA!

Friday, January 19, 2018

Happy National Popcorn Day!

Jiffy Pop, Jiffy Pop, the magic treat!
As much fun to make as it is to eat!

You've already shimmied your puffy popcorn filled aluminum pie pan over some hot coals and had your fill of the exploded kernels...now what?

Make a Jiffy Pop fridge magnet of course!

I found this idea in the book Better Than Homemade and have tweaked it some for this little craft.  


Supplies:
*Metal silver bottle cap
*Wire (a paperclip works great)
*Aluminum foil
*Mini styrofoam balls
 (got mine at dollar tree in the christmas craft section, 
I think they are meant to be used in snow globes)
*A small grape sized dome of styrofoam
*Craft Glues (I used E6000 and White Craft Glue)
*Yellow Water Color Paint 
*Wire Cutters
*Exacto Blade
*Magnet


How-To:
1.  Bend and cut wire to fit inside bottle cap pan resembling a handle.  Glue down with E6000.  Also glue magnet into place on underside of pan.
2. While the handle and magnet are drying, carve a small lump of foam/styrofoam into a dome that will fit inside the pan.  I used a bit of scrap spray insulation foam I had leftover from making the Magic Nose Goblins
3. Cover the dome in white craft glue and dunk into the mini styrofoam balls.  Let dry.
4.  Drape the popcorn ball completely in a tiny piece of aluminum foil, folding the edges under.
5.  Fit and glue the popcorn puff into the pan.
6.  Delicately cut an "X'' across the top of the puff, and fold edges back. 
7.  Dab diluted yellow paint randomly to make the appearance of butter onto the styrofoam balls.
  

A great little old lady craft!  You can also turn it into a fun brooch to wear for next year's national popcorn celebration!

I came across this craft last January when Mr. Husband Sir got me the Better Than Homemade book for Christmas.  I ran out directly to find a store that still might have some of those mini foam balls, unsuccessfully.  I had to wait til the next christmas season to pick some up (for the price I would pay: 1 buck!).   So I apologize that I am telling you all about this adorable craft and you may have to file it away til next season as I did.   In the mean time get yourself a pan of real life sized Jiffy Pop and make it into a hat!

A bonus kernel:

PB's comic book party with a popcorn bar!

Wednesday, January 17, 2018

Hallite Casserole Dish


Here is a "p.s" post.  In the last post I realized I didn't make mention about the neat pan I had the Chicken Pot Pie in.  Here is a view with the lid on.  My mom salvaged it from a friend of hers that was going to throw it away!


The ad claims the copper-colored covers can't tarnish but clearly this one did, which I am glad for.  I am not really into the copper look.  The underside of the lid is still a bit coppery but I am sure a bit of steamy cooking will clear that up in a few years! The style of this cookware is gorgeous though.  

Monday, January 15, 2018

Chicken Pot Pie


I tend to lean more towards making sweet dishes since they usually are a part of celebrating something.  Also I can get creative with tubs of icing unlike frozen peas.  Savory dishes are just so utilitarian.   But I can be down with a savory dish if it happens to also help me clean out my fridge!  
Chicken Pot Pie should be renamed Leftover Bits and Scrape the Pot Pie!


'Making Chicken Pie' courtesy of Better Homes and Gardens Cook Book 1951. 


I like this recipe because it is fairly vague with measurements.  Toss in those leftover veggies, pluck off the bits from last nights rotisserie chicken, and then make up the rest of the bulk in lard laden gravy!  
I always keep a box of my trusty Jiffy Pie Crust on hand which topped my Pie off.


A  real pie bird is completely optional.  After baking, just roost whatever you have in the center of your Pie.  I think some little plastic dinosaurs with peas jabbed onto their hands, feet, and tails and then popping out of each serving would work.  That's as creative as I can get with boring ol' peas.


Thursday, January 11, 2018

Feed Sack-a-thon


In the last post I wrote about going to a lecture about the history of feed sacks at a nearby rural library.  At the end of the lecture, I spoke with the presenter about tips on identifying the fabric and then went home to plunder through my stash of material.  I kinda had a feeling that the pieces Elizabeth had sent to me back in 2006 might be authentic and they were!  She sent me the top 4 pieces shown here. 


These next three pieces I picked up at a thrift store after the lecture:


This piece is complete and still has the stitching intact. It's still a bag! I picked this one up at an estate sale.


I picked these next two up at an estate sale as well.  Oh my word, it was amazing!  I happened to open up an old truck and it was completely full, 50+ uncut pieces, of feed sacks!!!!  Since I am trying to stay in the KonMari mind frame (only buy and keep items that bring you true joy) I only walked away with these:


This pattern is so amazing!  And I found two full pieces of it.

So now you may be wondering if there are any hidden gems in your stash as well.  Here are the hints I have to offer for identifying vintage feed sack material:


Here is an image of the chain stitched cording that holds the bag together.  That's kinda an obvious one if your fabric is still stitched in a bag form. 

But here is the real tell sign.  That thick stitching leaves a very noticeable track of needle openings.  It also will have a curved stitch in the bottom corner as shown here.  Another characteristic that is something that will develop is noticing the feel and look of feed sack fabric.  It's kinda thin and generally wrinkly yet also soft.

I have a hard time using vintage fabric because I would hate to mess up and waste it. That is why I still have those pieces from 2006.  I might look into finding some vintage patterns for using feed sack material.  I think I could then , maybe, use some of it.  

Tuesday, January 09, 2018

Feed Sack Fabric Lecture


About a year and a half ago I attended a lecture at a rural library that was about the history of feed sacks.  The lecturer was a collector and also a curator for a rural local history museum.  I hadn't had much of an interest in feed sacks before because they are kinda like Pyrex to me.  Too trendy and over priced.  However I did love learning about the history and ingenuity people used with them.  The photo above shows a cute little chicken pot holder made from feed sack material along with a ball of the very durable cording that held the sacks together.  

The lecturer brought a bunch of samples of material from her own collection and from the museum.

Also a display of several aprons made from feed sacks.

Samples of quilting squares.

Children's clothing.

Curtains.

Even an uncut embroidery pattern for matching collar and cuffs.


The library has it's own mini museum dedicated to their local rural history.  In the general store area were these samples of feed sacks with paper labels attached.

This was one of my most favorite lectures given by the library system.  The lady doing the lecture was spunky, well educated on the subject, had a typed up pamphlet on the history of feed sacks for all the attendants , and had a question, answer and share at the end.  There were a bunch of ladies who had brought samples of feed sack material they owned and shared stories about how feed sacks were used in their homes while growing up.

I loved this piece of fabric that an attendant had brought to show.

Here's some feed sack material nutshell info:
 *The chain-stitched thread (as seen above top photo) was saved and used to crochet and knit with.
*Originally the company logos on the sacks were printed with water soluble ink which housewives would soak off to reuse the fabric.
*In the mid 1920s mills started adding patterns to the fabric along with paper labels which were easy to remove.
*You had bragging rights if you were a "two feed sack girl", which was the equivalent of wearing a size two dress.
*Wives would instruct their husbands to buy particular prints so they would have enough for certain projects.
*In addition to all over prints there were also border prints perfect for pillowcases and curtains.
*There were Disney and Gone with the Wind prints.
*Some sacks had patterns for doll clothing and stuffed toys.
*Magazine and pattern companies published patterns for feed sack usage.
*During WWII when fabric was rationed it did not apply to feed sacks since it was seen as an industrial textile product.
 *Feed sack material usage lasted into the 1970s.

I spoke with the lecturer at the end of the presentation about how to distinguish if fabric is feed sack which she explained a few physical things to look for along with just getting a "feel" for it once you've handled some.

I went home and went through my fabric stash and lo and behold....
That's in the next post!