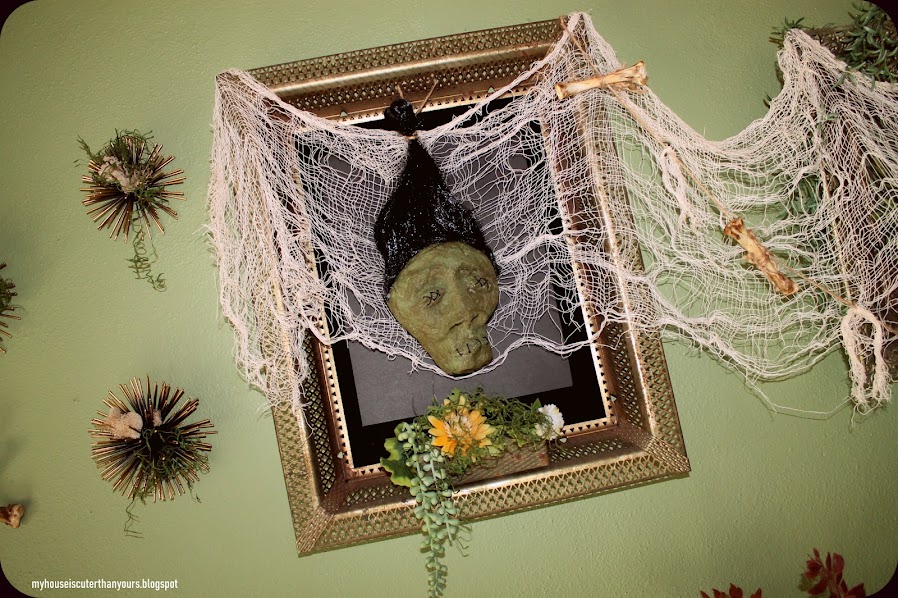
Boy Howdy! Make Your Own Head Day is one of my favorite obscure "holidays"!
This year I am sharing the 'How to' on the Shrunken heads I made for our Tiki Voodoo Swamp Hut decor from Halloween.
Materials needed: Masking tape, aluminum foil, newspaper, paper mache material (I used Celluclay), paint, clear craft glue, hot glue, waxed thread, hair (I used a dress up hair headband (toy department) from 1.25 Tree)
It's a very abstract 'How to' because I thought I had taken several pictures along the way which I apparently did not. I only have one...
Start by balling up newspaper into a vague head shape, control looseness with masking tape. Next, use pieces of aluminum foil to shape and build up features of the face such as eyebrows, nose, and lips. Tape all in place. Next mix up your paper mache material.
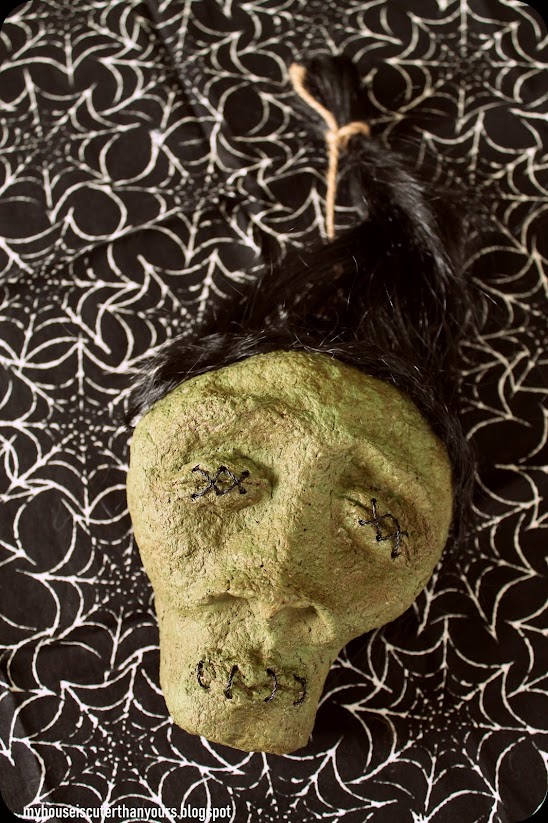
I happen to have a package of Celluclay that I have had for close to 28 years. It's a product that has been around since the 70s and is still available today. It looks like a block of compressed powdery dryer lint. You add water to it and smoosh it until it becomes clayesque. Apply small amounts of this to the head armature. Smooth as you work. Use small dollops to build up areas such as the eyelids and lips. Use a pointy thing (such as a ceramic needle tool) to make definition to the eyelids and lips while still wet. Also use this time to make holes for the stitched areas. Let dry for several days.
After your head is dry, paint in your color of choice and let dry. Cut small pieces of waxed thread for the stitching and craft glue in place, a pointy tool to jab the thread into position helps. Let dry.
Lastly cut and hot glue down the hair.
Tie on some twine to the hair and hang from the rearview mirror of your Knight Bus or place at an Alter to your God!
Here are several past Make Your Own Head Day posts.
The Miracle Masque one is quite disturbing:
And here are a few edible heads I have made:


No comments:
Post a Comment